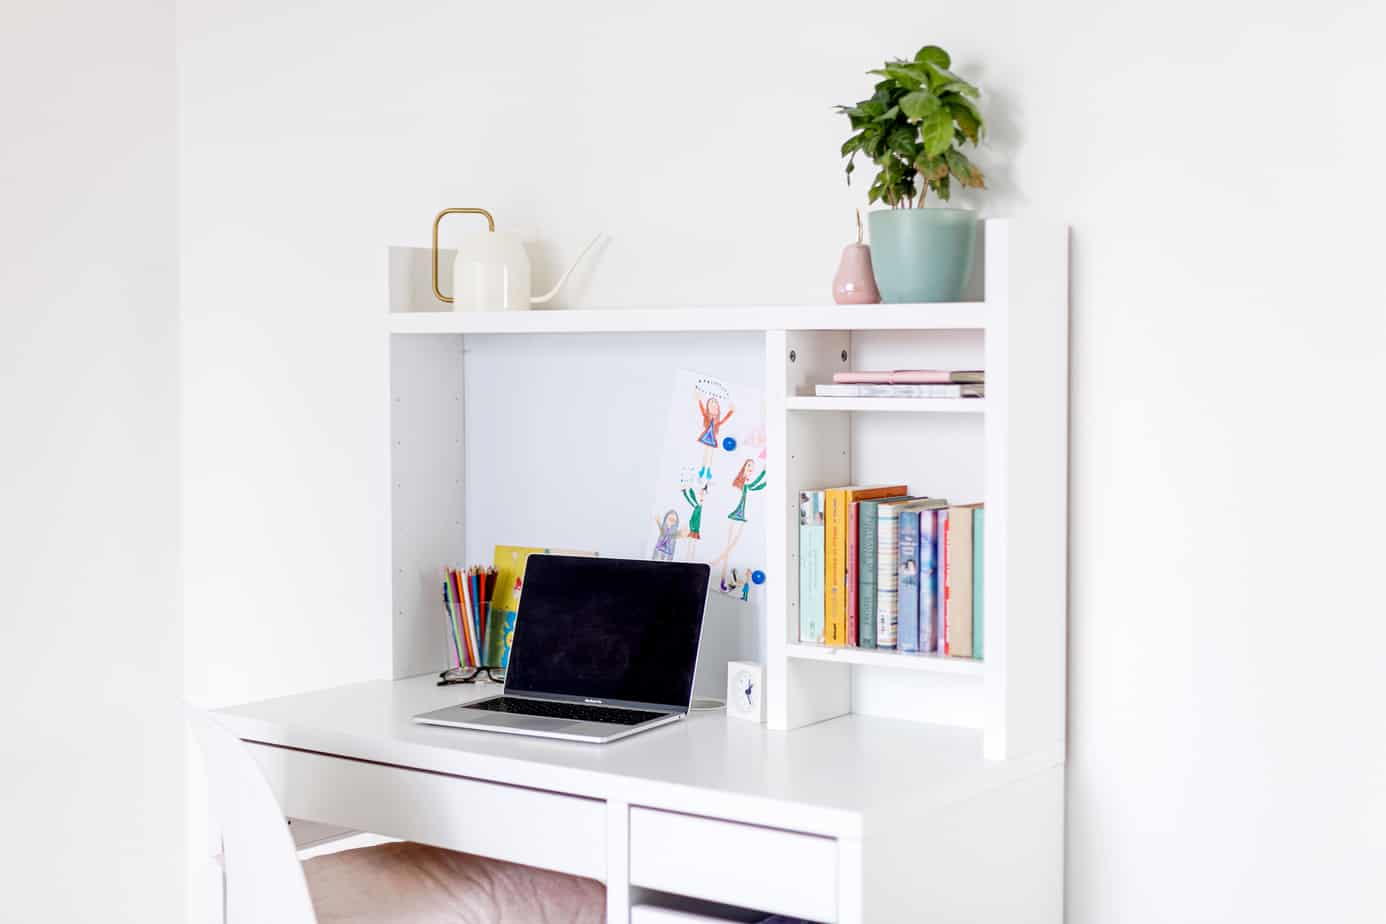
Many people who are looking to purge their house start with the obvious. They take a look at how many things they have and how much space is available in their home.
This isn’t always the best place to start, though. If you want to make sure that you’re getting rid of everything that you don’t need, this blog post has a 10 step guide that will help you get started.
It is important to make purging an annual tradition in order to maintain a clutter-free household.
What Does Purging Your Home Mean?
Purging is the process of going from room to room and removing anything that no longer works for you. It’s a chance to get rid of clutter, forgotten items, unfinished projects, old clothes, things you really don’t need anymore—things that are just taking up space or getting in your way.
Purging also gives us an opportunity to rethink how we live our lives by moving into spaces with less furniture or more natural light or whatever else suits your fancy.
Why Purge Your House?
It will free up space so it’s easy to find what you’re looking for when needed.*It can bring clarity around how much stuff one needs and how they want their life lived*You’ll be able to see
10 Steps to Purge Your House
1. Make A Game Plan And Establish An Effective Work Flow
Before anything else can happen, make sure that everything is ready for when it’ll be needed so things don’t get stalled or delayed later down the line.
If you’re planning on sorting through your wardrobe, for example, make sure all the clothes are laid out and sorted into a designated area.
It may seem like an unnecessary step at first but it’ll save time in the long run when items can be found easily without having to search around.
2. Start with one room at a time
There are many ways of how to purge your house, but we recommend starting with one room at a time.
Pick the rooms that you use most often or ones where clutter is more visible and get started! Ignore things like closets for now because they require sorting clothes by season and type.
3. Gather all the items you want to get rid of into one room
Gather all the items that you want to get rid of and put them in one room, like a garage or basement.
If you can’t find the time to do this during your purge session, don’t worry! You will be doing it at least once more before putting everything away so that you’re sure all unnecessary items are gone.
It is important not to just throw things out without thinking because how easy it may seem now won’t last forever.
For example- if you get rid of household appliances but then later need one for whatever reason (e.g., fire), how difficult would it be? We recommend donating these and other types of goods instead of throwing them out unless they are old and broken beyond repair. This way, there’s no chance that someday you’ll see
4. Sort through and decide what is worth keeping and what should be donated, recycled, or thrown away
Sort through your items and put any trash into the trash. Throw away broken or unusable items.
Place anything you want to keep in a pile for now – items that need repair, donation bags, etc. You can also use this process as an opportunity to get rid of extra clothing or other belongings by giving them away!
5. Put all the “yes” items in one pile and “no” items in another pile
Dividing your items into 2 separate piles labeled “yes” and “no” will help you to be more organized and efficient. It will also prevent items from ending up in the wrong pile.
6. Create a list of items to purge
Creating a list of items to purge is the most important step because it can be overwhelming.
Try to write down how much space each item takes up (e.g., an armchair could take up a lot of space) – how often they’re used (e.g., if something doesn’t get used on weekends, but just during workdays) – how good they are condition-wise: how old with wear and tear?
Do I need to buy new parts for this? Will this ever be worth anything again? How high will the shipping cost me/my time taking it somewhere else?”
Take inventory and proceed as needed.

7. Take photos of everything else as you go along so you know exactly what was removed from your home when the process is done
You don’t want to finish up this huge project, just to wonder what it is that you actually managed to purge. Take photos to keep track.
And remember: if it doesn’t bring joy or spark feelings of goodness then get rid of it! If something just “sits” in your home collecting dust day after day without being touched – let it go!
8. Make a plan for how to dispose of your unwanted belongings (e-bay, donation center)
So what are you going to do with your unwanted belongings? Here is where you’ll need to make a plan and set some goals.
Do you want the extra money from selling your stuff? Do you just want to get rid of it all now so that it’s out of sight? Is something sentimental or valuable enough for you to keep it close by, even if someone else could use an item more than you do?
There are many options available when deciding how best to deal with these things! This is where goal setting comes in handy again. Decide how much time and effort you’re willing/able to put into this process before starting.
9. If you’re donating anything, make sure it’s clean and not damaged before giving it to charity.
You don’t’ want to donate anything that is damaged or broken. You want to give away items that are valuable to others and that are appreciated.
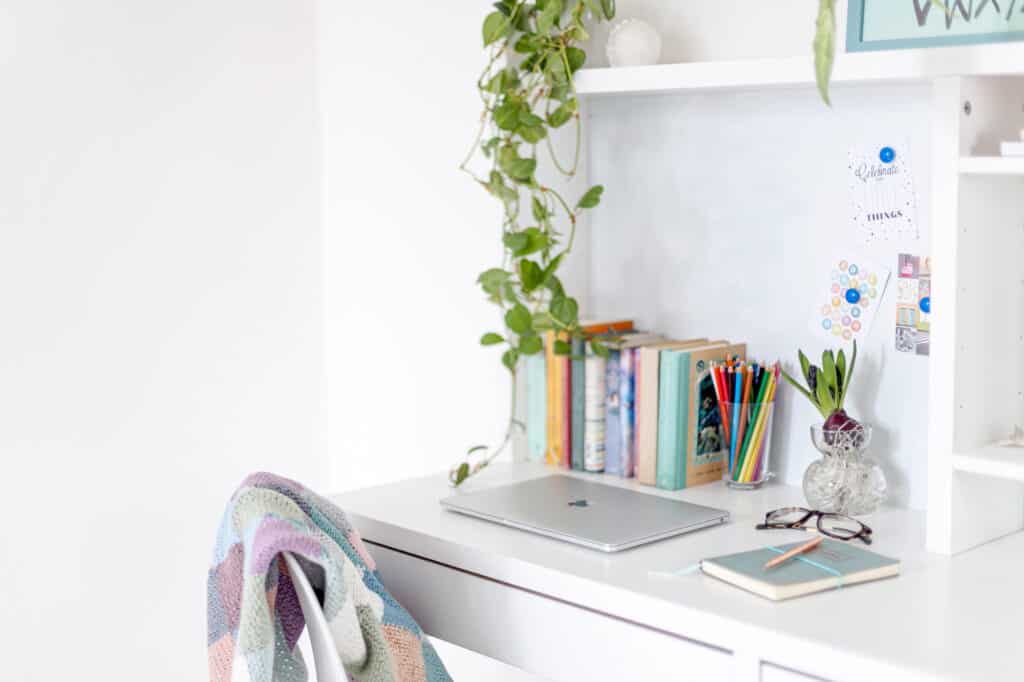
10. Kick back and reward yourself
Whew, what a huge task you’ve put yourself through. You deserve a pat on the back and now you can kick back and reap the benefits of more space and less clutter.
Final Thoughts
This is a quick and easy 10-step guide to help you get the job done. It will show you how to purge your house of all those things that are holding it back from being its best self so that you can start fresh with a clean slate for years to come!